Posted on — Leave a comment

Recipe – Gremolata

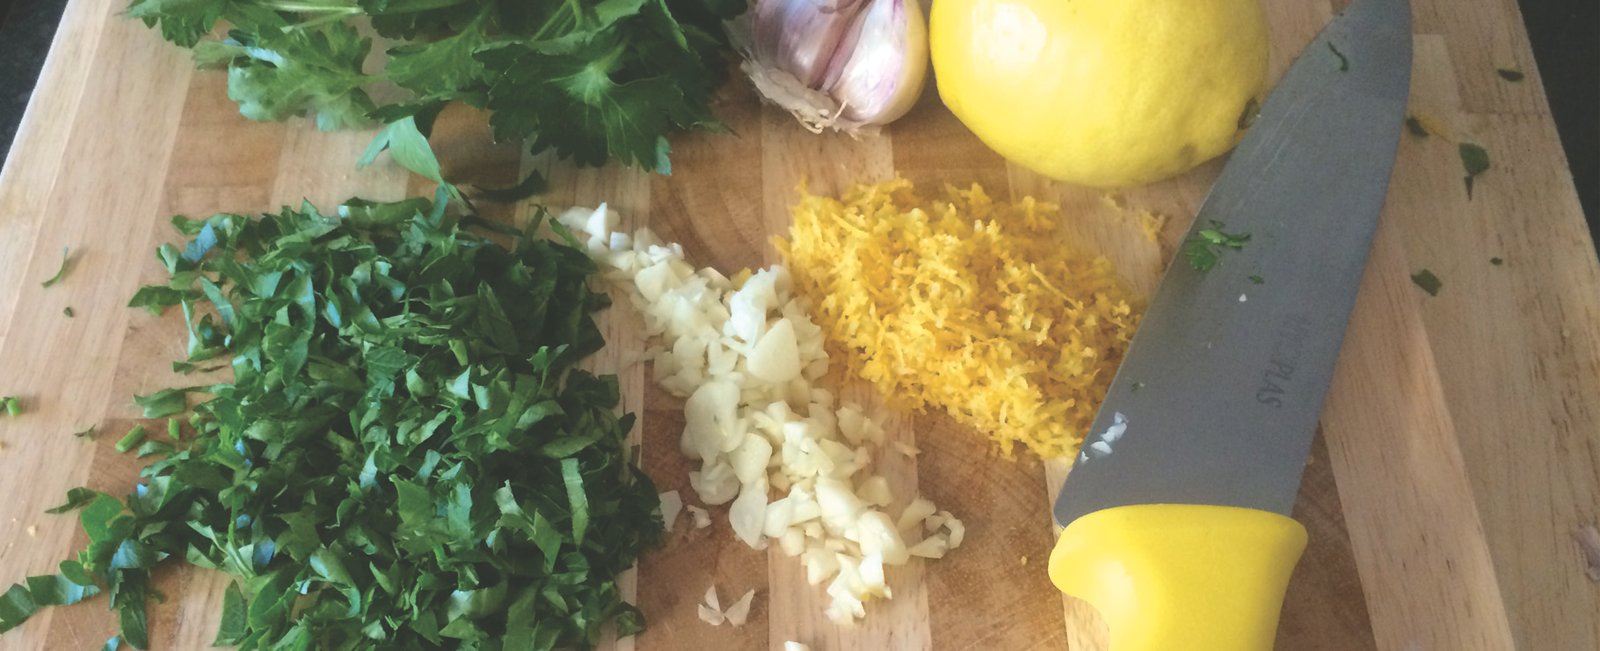
Herbs can be in short supply in the garden at this time of year: although there still seems to be plenty of parsley around. Gremolata is a great way to make use of this herb. This super easy, extremely versatile recipe will use up all that parsley hanging around, plus give you a garlic-y hit – always necessary over winter.

finish-gremolata

Gremolata

Ingredients:

2 cups (500mls) parsley

4 tbsp (60mls) finely grated lemon rind

2 tbsp (30mls) garlic

Chop the parsley and garlic until very fine, if you have a Vitamix this will do the job for you, then mix together with the finely grated lemon rind. This spread can be used in all sorts of ways too; freeze in an ice cube tray and then use to season stews and soups, mix with cream cheese for a delicious cracker spread, use as a garnish or mix with breadcrumbs for stuffing or coating. My personal favourite is mashing with butter, smearing on bread and then toasting in the oven for quick and delicious garlic bread. In a sealed container, kept in the fridge, this spread should last a while so you can have the chance to try it all sorts of ways!  In fact here is a great variation using walnuts.

Posted on — Leave a comment

Christmas Cocktails Rose Delight

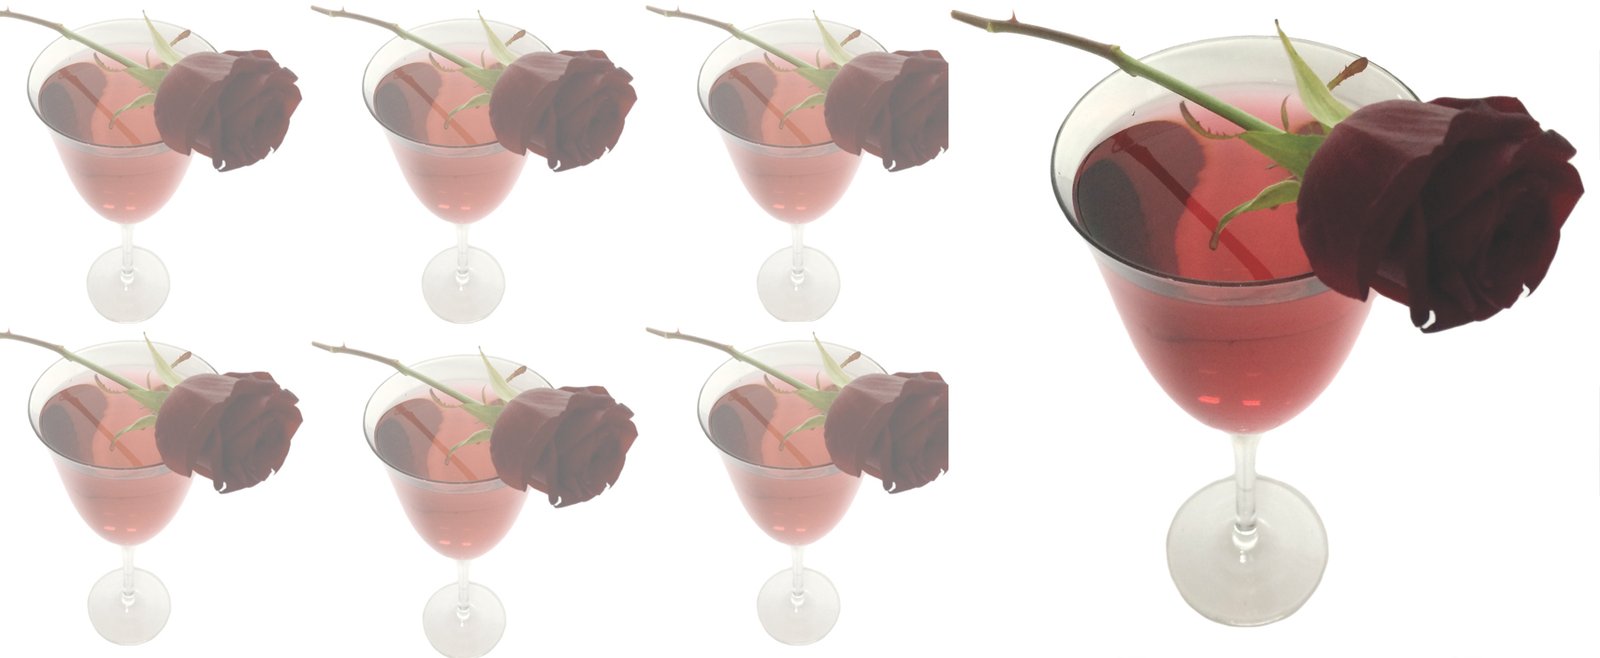
It’s our final Christmas cocktail before the day itself and this is one of our favourites! This Rose Delight is a wonderfully fruity drink with an unusual floral twist – and so easy to make! Inspired by our Summer Rose fragrance range, this cocktail is fast becoming a signature drink in our household. For a sophisticated yet playful theme, why not give this a go?

rose-cocktail-glass

Ingredients:

2 measures Rose Syrup

2 measures White wine

Sparkling water to taste

It’s best to use a large measure and make this in a jug, just mix together the wine and rose syrup then add sparkling water to taste.  Alternatively – for a stronger flavour – use sparkling wine and leave out the water.  Decorate with a sprinkle of petals and a straw.

Seasons greetings everyone  from the St Kitts Herbery team.


Posted on — Leave a comment

Christmas Cocktails Festive Fruit Cup

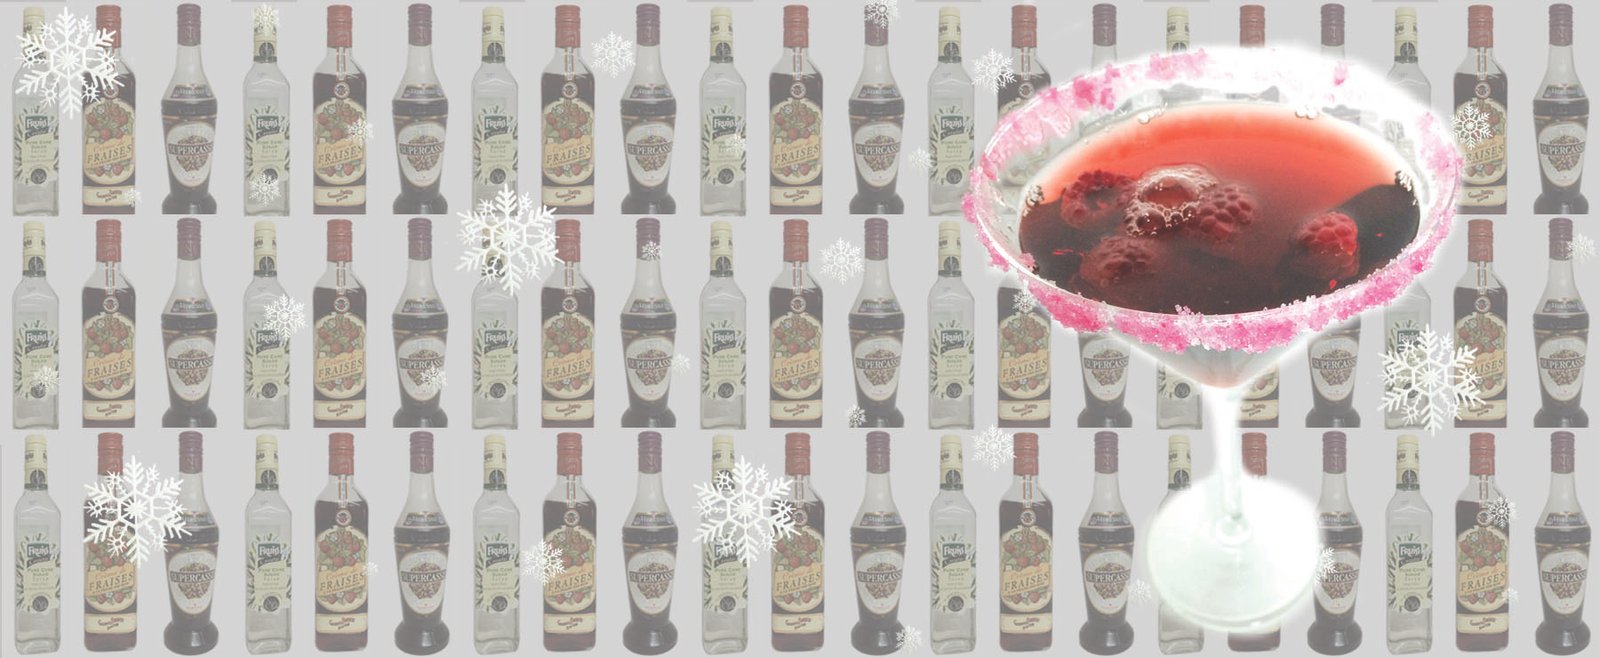
It’s week two of our Christmas cocktail concoctions and the turn of the fabulous Festive Fruit Punch. No matter how much you enjoy Christmas, it’s undeniable that the winter can be cold and miserable. This fruity cocktail is guaranteed to give you that hit of summer we all need to see us through!

festive fruit punch glass

2 measures crème de fraise (raspberry liquor)

2 measures crème de cassis (blackcurrant liquor)

1 measure vodka

1 measure sugar syrup

3 measures cranberry and raspberry juice

6 frozen raspberries per glass

Pink sugar crystals (optional)

This cocktail really is best shaken (resisting a James Bond joke here!), simply pour all of the ingredients into a cocktail shaker and mix well, before straining over your frozen raspberries. This drink looks its best in a traditional cosmo glass – to decorate the rim, dip in lemon juice and then pink sugar crystals. Voila, you can serve summer for Christmas!

Posted on — Leave a comment

Christmas Cocktails Chocolate Alexander

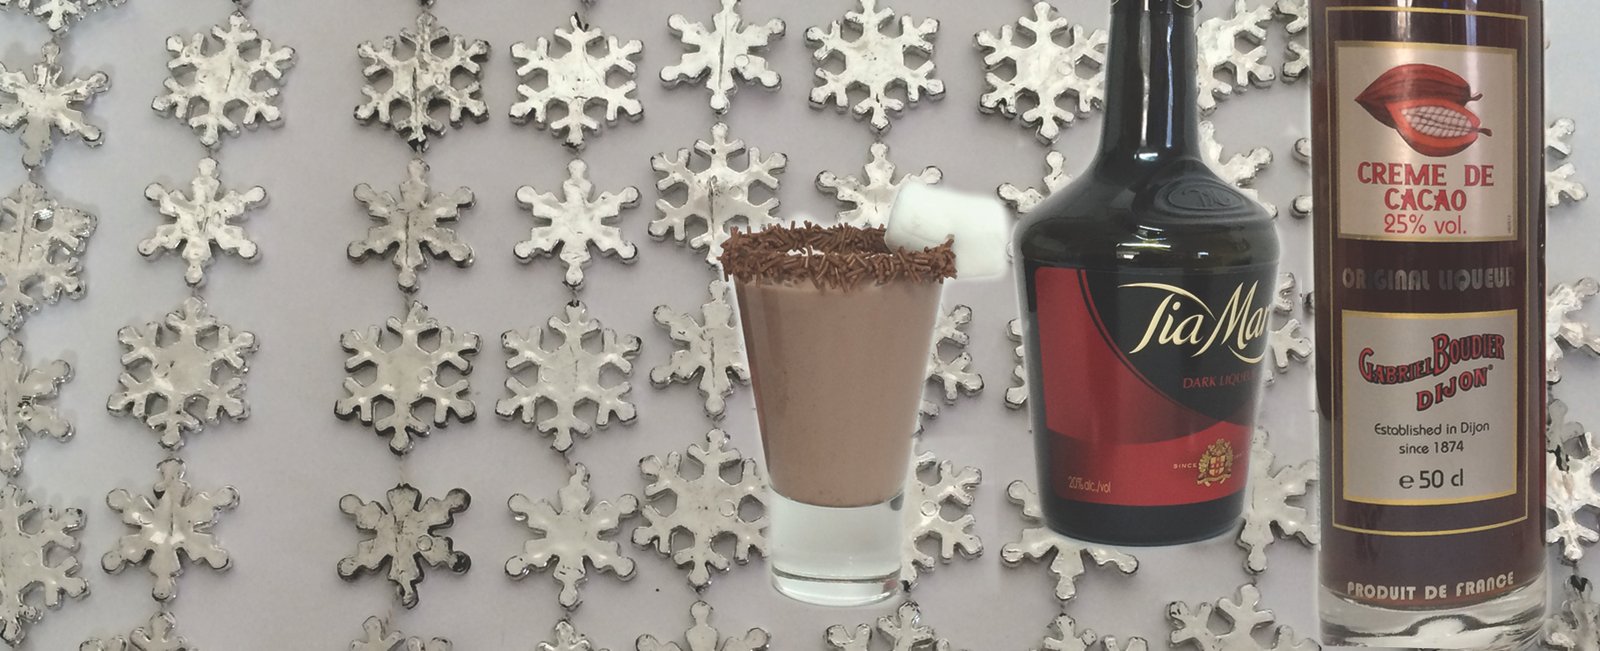
It’s December and Christmas is on its way.  To help you celebrate in style this year, we’re going to be posting one of our favourite cocktail recipes every week this December! To start you off is the ‘Chocolate Alexander’.  Created when I was still a teenager and alcopops weren’t yet around, we made our own of whatever we could.   I can’t drink quite so much of this these days, but I still give it a good go!

chocolate alexander glass pic

1 part vodka

1 part crème de cacao

1 part tia maria (or similar)

1 part baileys (or similar)

chocolate milk (chilled) to taste

It’s really easy too – just stick it all in a glass and give it a stir!  For an extra pretty touch, garnish the glass by melting some chocolate and dipping the rim of the glass, then quickly dipping in chocolate vermicelli and leaving to set.  Cinnamon chocolate works great for this if you’d like a Christmassy twist, you can also replace the Tia Maria with an orange liqueur such as Grand Marnier.  Or try Amaretti instead of vodka (or as well as vodka, we won’t tell anyone).

(Warning: This is a lot more alcoholic than it tastes  – not to be confused with regular chocolate milk!)

Posted on — Leave a comment

Ginger Chocolate Biscuits

As the days get shorter and winter draws closer, there’s nothing better than tucking up with a cup of tea and a homemade biscuit.  Since its chocolate week it’s only right that it should be a chocolate one.  Chocolate biscuits have always comforted me and this recipe gives them a warming ginger twist.


Ingredients:

125g Ginger chocolate

180g Plain flour

1tsp Bicarbonate of soda

125g Butter or margarine

125g Caster sugar

1tsp Vanilla extract

1 Egg

250g Chocolate chips

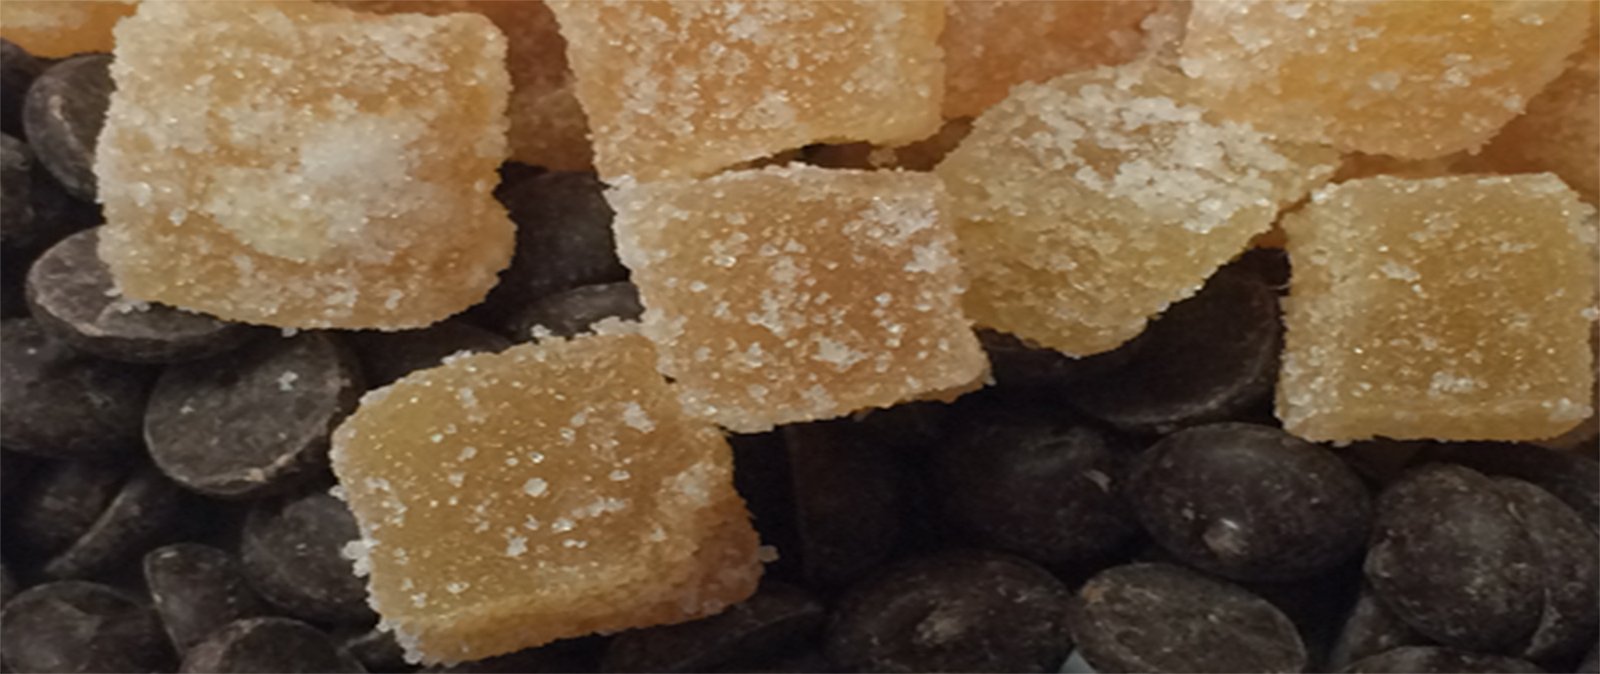
100g Crystallised ginger, diced

Method:

– Preheat the over to 170C/Gas mark 3

– Break up the chocolate and melt in the microwave or in a heatproof bowl set over a pan of simmering water. Stir occasionally until melted.

– In a bowl, cream together the butter and sugar until light and fluffy.

– Stir in the melted chocolate.

– Beat in the egg and vanilla extract.

– Add the flour and bicarbonate of soda. Stir until thoroughly combined.

– Stir in the chocolate chips and crystallised ginger until spread evenly throughout the mixture.

– Line a baking sheet and scoop out the mixture into equal portions about 6cm apart. Do not flatten them.

– Bake for 18 minutes and test with a skewer. If it comes out wet with batter, continue to cook until the skewer comes out semi-clean.

– Leave to cool for 5 minutes, transfer to a cooling rack and leave to cool again until they have hardened.

Don’t forget to enjoy with a cup of tea!


Posted on — Leave a comment

St Kitts Crème Brûlée!

Crème brûlée is one of those desserts that are always impressive – and so much easier than they seem! This foolproof recipe adds a herby twist to a delicious classic.

Ingredients:

4 large egg yolks

60g sugar

560mls double cream

113g St Kitts Herbery white cardamom chocolate

½ tsp vanilla extract

4 tsp sugar to top


Method:

.    Preheat the oven to gas mark 2

.    In a medium sized bowl, whisk the egg yolks with the sugar until creamy and smooth.

.    In a saucepan, bring the cream to a simmer over medium-high heat. Add the white chocolate, turn off the heat and whisk until the chocolate is melted.

.    Add 2 tablespoons of the white chocolate mixture to the egg yolk mixture, whisking continually to prevent the eggs from scrambling. This is the most important step to get right or you’ll have a lumpy, egg-y pudding!

.    Add the remaining white chocolate mixture to the egg yolk mixture. Whisk until smooth.

.     Add the vanilla and mix thoroughly.

.    Pour into four 6-inch ramekins or custard cups. Place the cups in a baking pan. Add enough hot water so the cups sit in 1 to 1 1/2 inches of water.

.    Bake for about 45 minutes, until set. If you lightly shake the pan, the crème brulee should wobble with a jelly like consistency.

.    Once cool, refrigerate the custards until chilled – for best results leave overnight.

.    Before serving, sprinkle the tops of each ramekin with 1 teaspoon of sugar. If you can get your hands on a kitchen blowtorch, use this to caramelize the top until golden brown. (If you don’t have a blowtorch then under the grill should work for this). If you’re new to using a blow torch, don’t worry! Just check out this handy guide!

.    Refrigerate for 5 minutes before serving.

Delicious!
                                                                  Delicious!

The cardamom chocolate in this recipe gives this dessert a rich, creamy taste without being too heavy. If you’re short on time, it can be easily adapted into a cold custard recipe!


Posted on — Leave a comment

Rose Cupcakes!

To celebrate the launch of our latest fragrance, dreamy Summer Rose, we’ve whipped up a batch of gorgeously fluffy, super easy Rose Cupcakes. Adapted from this recipe on bakingmad.com, we’ve tweaked until it’s even simpler and just as rosily delicious!

Ingredients:


For the Cupcakes

200g unsalted butter

200g golden caster sugar

30mls St Kitts Herbery rose syrup

4 medium eggs

200g plain flour

1tsp baking powder


For the Topping

200g cream cheese

100g unsalted butter

600g icing sugar

10mls rose syrup (plus extra for drizzling)

5 drops pink food colouring (optional)


Method

– Preheat the oven to Gas mark 4 (180C)

– Beat together the butter and caster sugar until light and fluffy

– Add the eggs one at a time, stirring well until fully combined

– Sift in the flour and mix well

– Fill your cupcake cases with the mixture and bake for 20minutes or until golden brown and firm to the touch

– Leave to cool on a wire rack

– Drizzle the top of the cupcakes with some rose syrup (this is optional- it does make them taste very strongly of rose!)

– To make the icing, put the cream cheese, butter, rose syrup and icing sugar in a bowl and mix until light and fluffy (this is easiest in an electric mixer but a fork works just fine)

– If using, add the pink food colouring and mix well

– For beautiful results, place in a piping bag and ice (for those like me who run out of patience, they taste just as good with the icing spooned on)


That’s all there is to it! If you’re after something a bit more chocolate-y, replace 50g of the flour with cocoa powder and top with a rose chocolate ganache!

Posted on — Leave a comment

Betty’s Buns

Not really a bun but we couldn’t resist the title – our gorgeous Betty has been indulging her passion for baking and in this occasional feature will share her favourite recipes.  Today she is making her raspberry adaptation of Nigella Lawson’s simple chocolate cake – and it’s delicious!

choc rasp cake

I love Nigella Lawson’s recipes, both for taste and simplicity, but especially because they always work. Although her simple chocolate cake recipe is gorgeous as is, I made this adapted recipe with a raspberry twist to satisfy my fruity cravings. For a really naughty treat, replace the raspberry coulis with a raspberry liqueur!

Ingredients:

For the cake:

5oz plain flour

1tsp baking powder

1oz unsweetened cocoa

6oz margarine

6oz sugar

3 eggs

3 tsp vanilla extract

For the topping:

125mls raspberry coulis

2oz butter (or margarine)

6oz icing sugar

2 tbsp cocoa powder (or more to taste)

75g raspberry chocolate

Fresh raspberries to decorate


1. Preheat the oven to about Gas Mark 8 (230C)

2. Grease and line a springform cake tin, around 20cm in diameter

3. Cream together the sugar and margarine in a mixing bowl until     light and fluffy, then add the vanilla extract

4. Add the eggs, one at a time, mixing thoroughly until fully combined

5. Sift in the flour and cocoa and mix well, this should look like a creamy chocolate batter. Fold gently to release any trapped air

6. Pour into the greased and lined tin and bake in the oven for 14-15 minutes, until a knife inserted into the centre of the cake comes out clean. Remove from the oven and leave to cool

7. Whilst the cake is cooling, you can make the butter icing. Sift the flour and cocoa powder into a mixing bowl.

8. Add in the butter and beat (any kind of beater will do, electric, whisk or fork). Continue until it resembles a thick paste.

9. Once the cake is cool, remove from the tin and using a skewer or fork, poke a few holes into the top.

10. Pour the raspberry coulis over the cake and allow time to soak in

11. Pipe on the butter icing (or spoon it on if a piping bag is not easily available!)

12. Grate or curl raspberry chocolate liberally on top of the icing and add fresh raspberries to decorate

13. For best results serve with chilled raspberry coulis and clotted cream


This really is an incredibly easy, mouth wateringly delicious cake.



Posted on — Leave a comment

Pip McCormac’s Violet Scones

Have you seen this fantastic new book from Pip McCormac?  We have and it is choc full of wonderful recipes. In fact, we loved it so much that, following a chat with Pip, we have the privilege of being able to share one of his recipes with you, so here are Pip’s Violet Scones!


Violet Scones with honeyed cream

50g butter, plus extra for greasing

225g self-raising flour, plus extra for dusting

25g sugar

150ml milk, plus extra for glazing

1 tsp vanilla extract

3 violet flowers, chopped, plus extra petals for serving

100g clotted cream

2 tbsp runny honey

VioletScones051

I’ve never been a fan of the soapy taste of parma violets, but if you use violet flowers sparingly and bake them they are far subtler – a clever floral note rather than an overpowering flavour. The honeyed cream is what provides the real sweetness here; it’s thick and indulgent and removes the need for jam or butter… although a dollop of lemon curd goes well if you have a really sweet tooth.

Preheat the oven to 225C/Gas mark 7 and line and grease a large baking tray. In a food processor, mix together the flour, butter and sugar until it resembles breadcrumbs. Pour in the milk and vanilla extract and beat into a stiff dough. Add the violet flowers and give a final few pulses of the processor to combine them into the mixture. Lightly dust your worktop with flour and place the dough in the middle, sprinkling a little flour over the top. Using a rolling pin, work the dough until it’s about 2cm thick. Take a 5cm round cutter and cut out discs, placing them onto the baking tray. Roll the leftover dough out again and cut out more rounds, repeating until all the dough is used up. Try not to roll the dough too many times as this will lead to tough scones. Brush the top of each with a dab of milk and place the tray in the oven for 12–15 minutes until golden. Transfer to a wire rack and leave to cool.

Just before you are about to eat the scones, place the cream in a small bowl and briefly fold in the honey – do not mix until combined, you want it to have a rippled effect – and top with a few violet petals. Cut open the scones, spread a bit of cream on top and serve.


This recipe is taken from The Herb and Flower Cookbook by Pip McCormac (Quadrille, £16.99)

9781849494168
Pip McCormac’s “The Herb & Flower Cookbook”

Photograph © Yuki Sugiura