
Posted on — Leave a comment

Recipe – Sweet potato, sausage and sage frittata

The sun is finally starting to come out (briefly but it’s something!) and that means it’s time to leave the stews and soups behind and bring out the summer meals. You don’t want to spend too much time cooking though, when you could be enjoying the sunshine, so this quick, simple Frittata recipe is the perfect meal choice. The sweet potato is a novel twist on a spring classic.

Ingredients

1 large sweet potato, diced

6 sausages (spicy sausages work particularly well), sliced

1 onion, diced

1 sweet pepper, sliced

6 eggs, beaten

1 tsp sage, chopped

handful of baby spinach leaves

salt and pepper to taste

Method

– Boil a pan of water and add the sweet potato. Keep on the boil for roughly 8 minutes, until the sweet potato starts to feel tender. Then drain and keep to one side.

– In a heavy based frying pan, shallow fry the sliced sausage until cooked through, then remove onto a kitchen towel lined plate and keep to one side.

– Fry the onion and pepper in the left over oil from the sausage, until the onion is translucent.

– Add the sausage back to the frying pan, along with the sage, and fry until the peppers are soft. Then add the sweet potato and spinach, stir until thoroughly mixed.

– In a separate bowl, beat the eggs well and season with the salt and pepper.

– Turn the hob down to simmering temperature and pour the egg over the sausage and vegetable mix in the pan. Be sure that the egg is evenly spread throughout the pan.

– Leave to simmer for roughly 6 minutes, until the egg has cooked around the sides of the pan and begun to firm across the top.

– Take the frittata off the hob and grill until the egg is completely firm all the way through and the top is golden brown.

– Serve with salad or green beans and eat out in the sunshine!
Posted on — Leave a comment

Make Your Own – Face Cleanser

Looking after your skin can be expensive and time consuming, but often the products we use are unnecessary.  We at St Kitts believe skin care should be simple, easy and uncomplicated – no need for special beads dug from an ancient burial sight somewhere far across the galaxy that guarantee to leave your skin feeling ‘just delightful!’ and your pocket decidedly empty. The staple of every skin care routine, as far as I’m concerned, is a great cleanser. This easy recipe for fantastic cleansing oil is both a versatile and cheap way of achieving glowing skin.

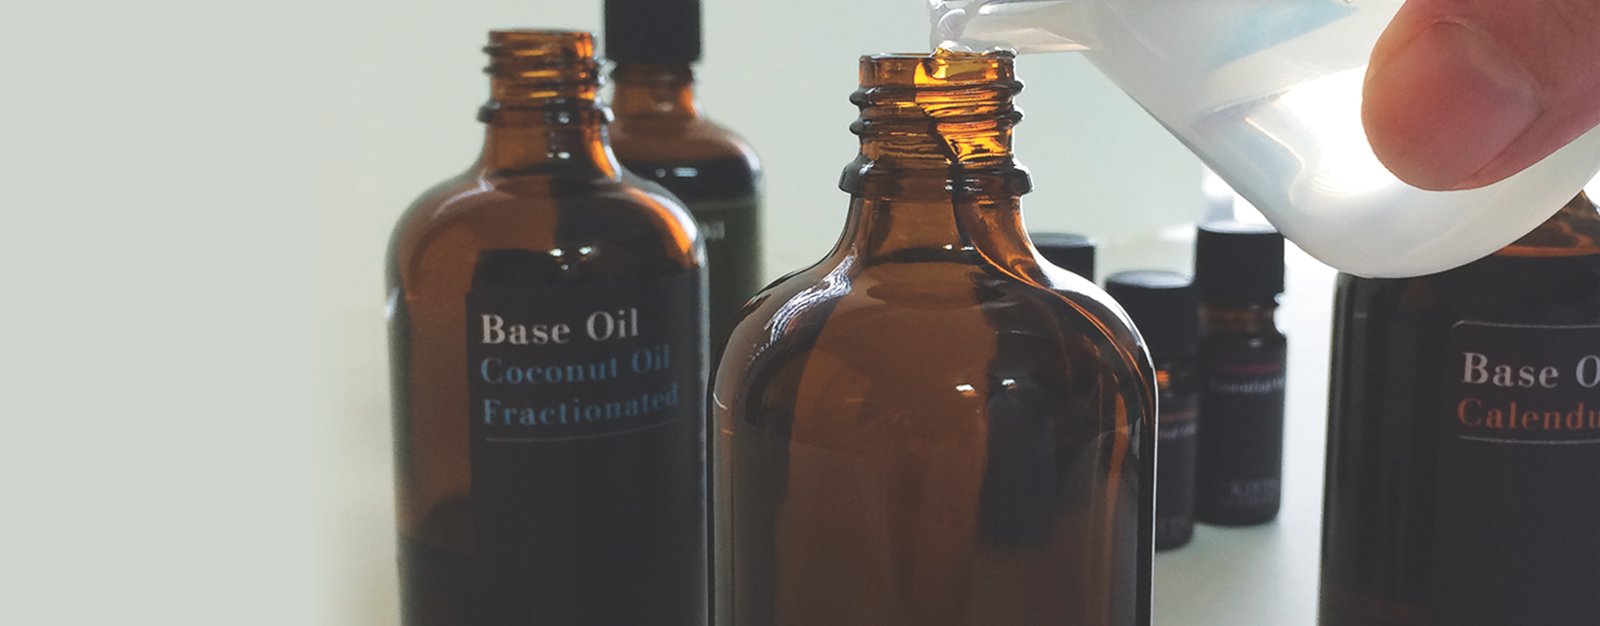
bottles-for-cleanser

Ingredients:

80mls coconut oil

10mls jojoba oil

10mls calendula oil

This mixture of oils forms the perfect addition to your routine, softening and moisturising your skin. Coconut oil is hydrating for the skin, it contains mild anti-bacterial properties and naturally clears dirt and dead skin cells that can clog pores and lead to blemishes. As well as soothing and softening the skin, calendula oil is a great anti-inflammatory, meaning it is fantastic for acne, ulcers, rashes and eczema amongst other skin issues. Jojoba oil is actually a liquid wax, known to be the ‘oil’ that most closely resembles sebum (which is produced by the skin naturally). This makes it fantastic for helping to regulate the production of sebum, thereby reducing the likelihood of oily skin.  As with the coconut and calendula oils, jojoba is also hydrating and moisturizing, making the three a perfect combination for clearing pores and freshening tired skin. Best used at night, this is a ‘one size fits all’ product. It is also virtually scentless, so those of you with a sensitive nose can still benefit! It also works as a great base for more specialised cleansers – if you suffer from acne or blemishes, try adding a drop of lavender (also great for relaxing before bed!), for oily skin add a drop of geranium for its skin balancing properties and for dry skin give a drop of frankincense a try. This product will fast become your go to, we promise!


Posted on — Leave a comment

Herb of the month – Fennel

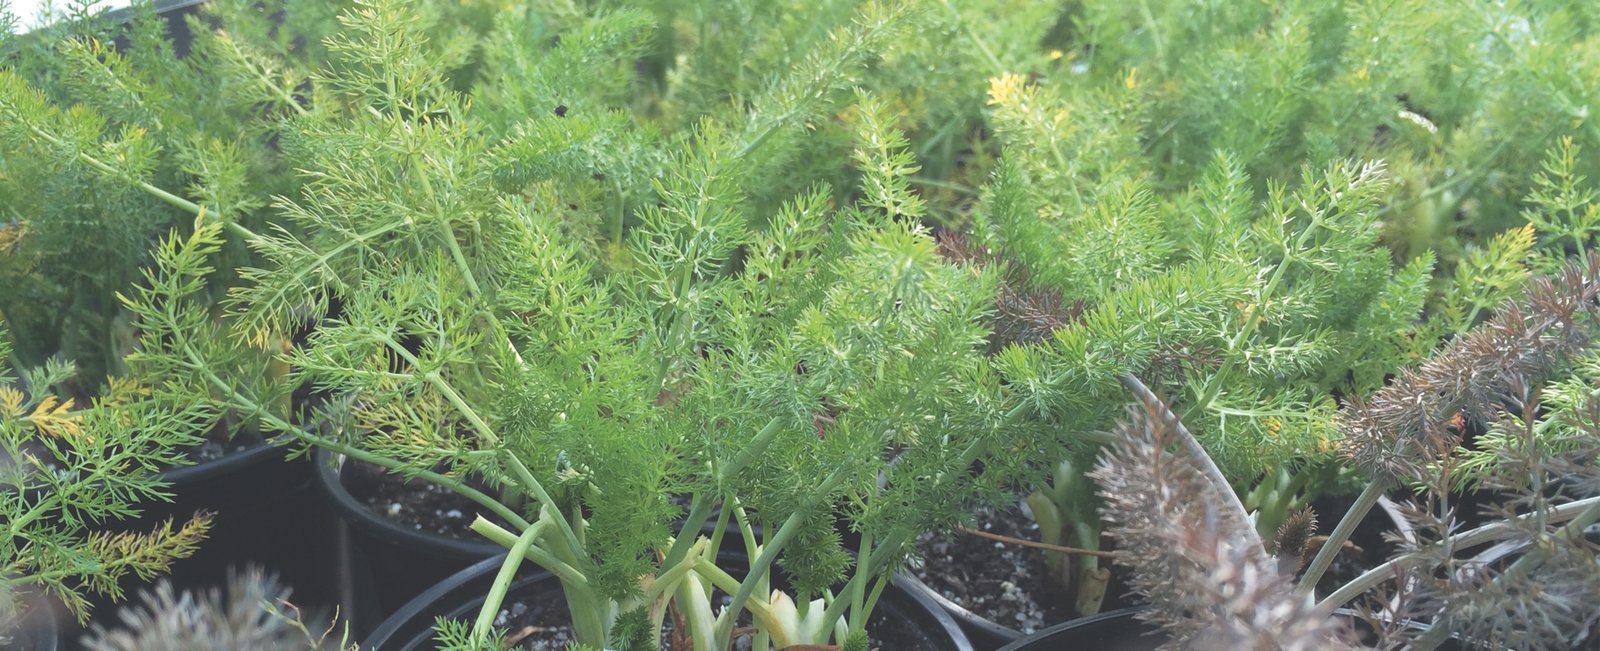
This edition of herb of the month was chosen based on what was still looking good in our very own herb garden – and fennel (Foeniculum vulgare) is the winner by far!  This multi-purpose perennial plant is best grown in loose, well-drained soil, with regular watering and full sunlight.  Although it is suitable for container gardening, it will really thrive in the ground.  The most likely problem to encounter when growing fennel is root rot, easily avoidable by ensuring you don’t overwater the plants and that they are in light soil. Although I have to say our fennel is outdoors and winters are very wet here and it does just fine.

Whilst fennel is best known for the aniseed taste of its seeds, its bulb (Florence Fennel – Foeniculum vulgare, var. azoricum) is a great vegetable to cook with, being very high in vitamin C.  Its fine leaves can be snipped and used for seasoning; the thicker stalks are also great as a snack with hummus (if you like that sort of thing). It can also be kept around just for its pleasant yellow flowers, or its ferny foliage used to stunning effect in flower arrangements.

Fennel is used as seasoning in a lot of Mediterranean cuisine, but can also be delicious combined in more unusual foods – fennel chocolate truffles are simply wonderful. It can also be used in salads, stews, risottos, or this gorgeous recipe for avocado, prawn and fennel cocktails.

The seeds of fennel are often made into oil to treat various ailments, including heartburn, bloating, colic, coughs, bronchitis and backache. It is even suggested to be a cure for bedwetting. Fennel powder can be used as a poultice for snakebites and some women use forms of fennel to help increase the flow of breast milk and ease the birthing process.

The latin for fennel is Foeniculum vulgare and historically, fennel is the symbol of flattery. Shakespeare used this symbolism most famously in ‘Hamlet’, where Ophelia slights the King by handing him fennel (or flattery). It is thought that this is due to the tendency of fennel to wilt very quickly after being picked.


Posted on — Leave a comment

Recipe – Tikka Paste

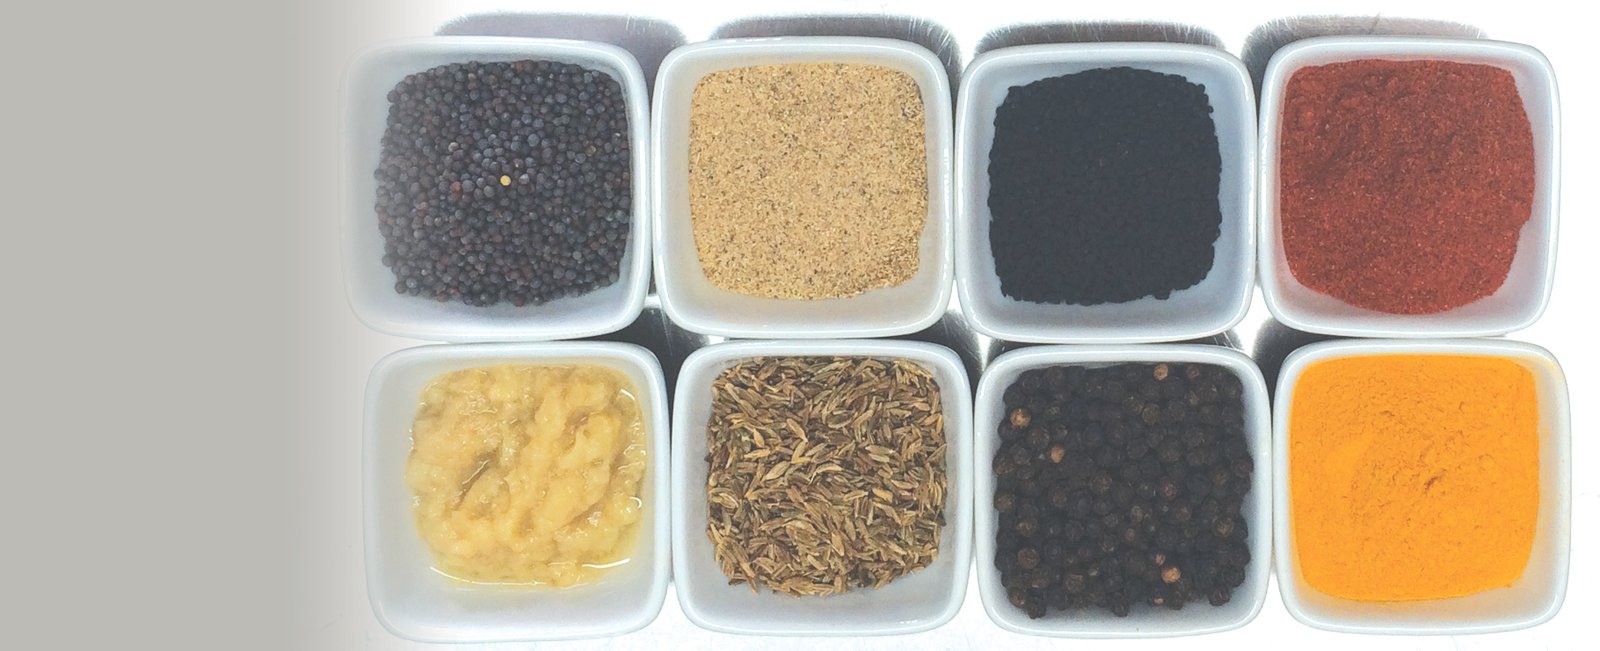
January is over and February’s well on its way, but it still just isn’t quite spring. It’s this time of year that I find myself most in need of a pick me up, and I’m sure I’m not the only one. For me, diet is always a contributing factor to my mood, so my pick me ups come in the form of deliciously healthy meals. This week’s recipe comes after racking my brains (and rooting around the internet) for something to lift my mood and wake up my brain – something that I’ve discovered turmeric is great for! Also known as ‘Indian saffron’, turmeric is a staple spice in a lot of Indian cookery.  This easy recipe for a tikka paste not only contains this fantastic spice but is also extremely versatile.  It can be used for paneer or chicken skewers, as a standard curry paste, to spice up a soup or add some flavour to a rice salad.

Ingredients:

½ tsp ground turmeric

10 black peppercorns

6 cloves

1 tsp ground cardamom

1 tsp cumin seeds

1 tsp coriander seeds

½ tsp mustard seeds

½ tsp chilli powder

1 tbsp garlic paste/ minced garlic

1 tbsp ginger paste/ minced ginger

½ small onion

150g natural yoghurt

½ tbsp. tomato puree

1 tbsp gram flour

1 tbsp vegetable oil

Dry fry the peppercorns, cloves, cumin seeds, coriander seeds and poppy seeds in a frying pan, stirring constantly just until you start to smell the spices. Remove them quickly to avoid burning and grind straight away. This can be done in a Vitamix or other blender for ease, or with a pestle and mortar if you’re more traditional!  Once ground to a fine powder, add in the chilli powder, ground cardamom, ground turmeric, garlic paste, ginger paste and onion. Blitz in a blender until a paste begins to form.  Stir in the yoghurt, tomato puree, gram flour and oil, until well combined. That’s all there is to it!

To make paneer or chicken skewers, use the paste to marinate the paneer/chicken before grilling. For a curry, use in place of shop bought curry paste and add coconut cream for a richer meal. For soups, use a small amount in place of stock. Or experiment and come up with your own uses – let us know what masterpieces you create!

Posted on — Leave a comment

Herb of the month – Oregano

January is a good time for sowing oregano seeds under cover or indoors. Perennial, frost hardy plants, they like full sun and well-drained, nutrient rich soil (though I find they grow well in any soil).   Easy to grow and maintain they make a lovely, fragrant addition to any garden.

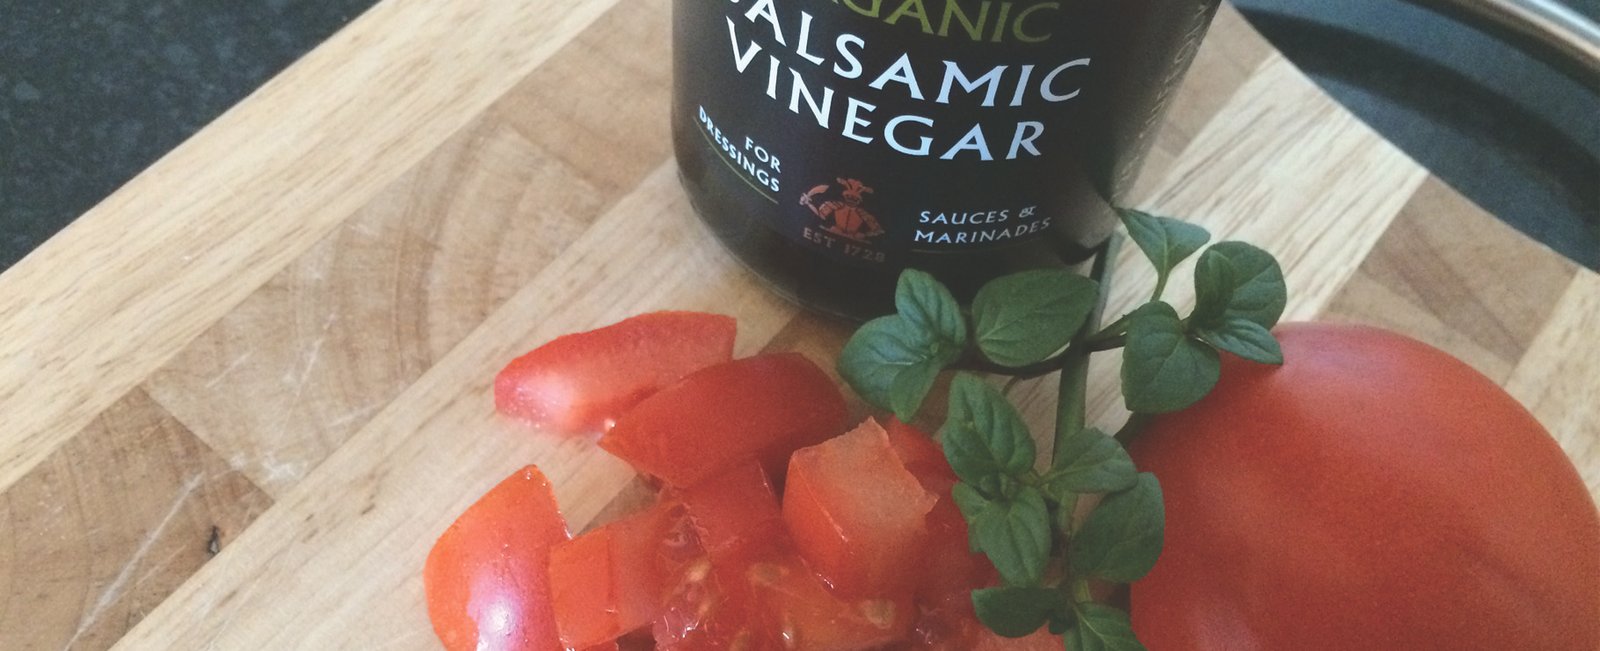
This fabulously under rated herb is great with tomatoes and is of course used to season pizza topping.   A brilliant culinary herb, we use it to season our tomato relish, but it is also found in many Mexican dishes and gives a distinctive flavour to enchiladas. In fact it is a very versatile culinary herb.  High in Omega 3 and anti-oxidants, oregano is antibacterial, anti parasitic, antiseptic and antiviral, as well as being insect repellent.

Medicinally the plant and essential oil have been used for a wide range of problems from dandruff and skin conditions to bronchitis and croup, it has even been used to treat warts.

Infuse for a relaxing bath or as hair conditioner, use in pot pourri and herbal pillows. Add essential oil to baths, ointments or compresses to relive pain and tension. Place few drops near pillow to promote sleep.

Said to have been created by the Greek goddess Venus it is a symbol of happiness. It is recorded as having been used to make crowns for healing and as being used as an oil massaged into the forehead and hair. In the language of flowers oregano is the herb of love and protection.

Posted on — Leave a comment

Herbs for Health Eucalyptus


HERBS FOR HEALTH – EUCALYPTUS     

eucalyptus-bottle

 We all know herbs can smell and look beautiful in your garden and be great for cooking, but what about herbs for health?*  Every month we’re going to be introducing you to a new herb and its traditional medicinal uses – starting with seasonally appropriate Eucalyptus.

This is a fast growing tree with beautiful bluey green leaves., it grows well in most soils and will reach a height of up to 30m. If you want to grow your own here is some good advice.

Eucalyptus essential oil is obtained from the globulus variety and is a common ingredient in medicinal inhalation preparations. Although taken in large doses the plant is toxic (it should not be taken orally, or put on the skin undiluted), its medicinal benefits are well documented, where it’s decongestant properties make it useful for cough, cold and chest preparations.. It is also widely used in dental preparations such as mouthwash and toothpaste, as it has a unique, fresh aroma. This aroma also has uses in the perfume industry. Eucalyptus can be used in oil burners to freshen the air with its lovely fresh fragrance

The leaves can be used to repel fleas and for pot pourri.

Cosmetically the plant can be used to make deodorant and is antiseptic.

*This article is intended for interest only – use of herbs given are traditional and do not reflect the herbs efficacy. It is not intended, nor should be taken as medical advice. If you have a medical condition please consult a qualified health professional prior to using any herbal preparation. Although the facts have been checked carefully, we cannot guarantee the reliability of information provided. Essential oils should not be used on children or vulnerable adults (elderly, breast feeding or ill) or during pregnancy. Some essential oils and herbs can be toxic, whether taken internally or used on the skin – your health care professional will advise.

Posted on — Leave a comment

Recipe – Gremolata

Herbs can be in short supply in the garden at this time of year: although there still seems to be plenty of parsley around. Gremolata is a great way to make use of this herb. This super easy, extremely versatile recipe will use up all that parsley hanging around, plus give you a garlic-y hit – always necessary over winter.

finish-gremolata

Gremolata

Ingredients:

2 cups (500mls) parsley

4 tbsp (60mls) finely grated lemon rind

2 tbsp (30mls) garlic

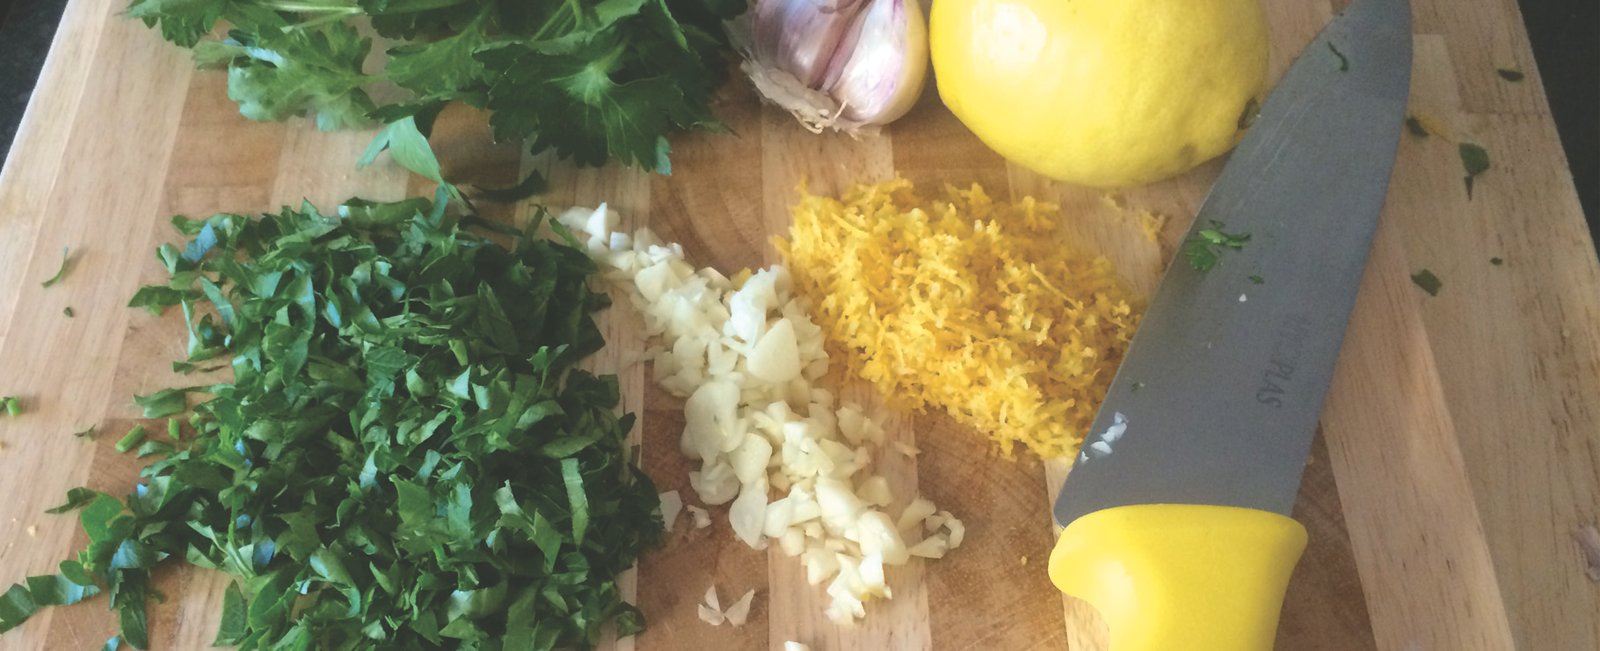
Chop the parsley and garlic until very fine, if you have a Vitamix this will do the job for you, then mix together with the finely grated lemon rind. This spread can be used in all sorts of ways too; freeze in an ice cube tray and then use to season stews and soups, mix with cream cheese for a delicious cracker spread, use as a garnish or mix with breadcrumbs for stuffing or coating. My personal favourite is mashing with butter, smearing on bread and then toasting in the oven for quick and delicious garlic bread. In a sealed container, kept in the fridge, this spread should last a while so you can have the chance to try it all sorts of ways!  In fact here is a great variation using walnuts.

Posted on — Leave a comment

Christmas Cocktails Festive Fruit Cup

It’s week two of our Christmas cocktail concoctions and the turn of the fabulous Festive Fruit Punch. No matter how much you enjoy Christmas, it’s undeniable that the winter can be cold and miserable. This fruity cocktail is guaranteed to give you that hit of summer we all need to see us through!

festive fruit punch glass

2 measures crème de fraise (raspberry liquor)

2 measures crème de cassis (blackcurrant liquor)

1 measure vodka

1 measure sugar syrup

3 measures cranberry and raspberry juice

6 frozen raspberries per glass

Pink sugar crystals (optional)

This cocktail really is best shaken (resisting a James Bond joke here!), simply pour all of the ingredients into a cocktail shaker and mix well, before straining over your frozen raspberries. This drink looks its best in a traditional cosmo glass – to decorate the rim, dip in lemon juice and then pink sugar crystals. Voila, you can serve summer for Christmas!

Posted on — Leave a comment

Bath Vinegar – Make your own Christmas presents

With Christmas drawing closer it’s time to start thinking about those all-important presents. If you’re anything like me, you’ll have noticed that unique gifts are getting harder to come by – so why not change things up this year and make some of your own? This is our tried and tested, easy recipe to make your very own bath vinegars. Unique, beautiful and great for balancing the ph of the skin, these are a failsafe present for the hard to please.

IMG_0465 

– Start by collecting your flowers. We made ours with beautiful pink roses, but you could also use pelargonium flowers, carnations or even lemon slices, depending on the scent you’d like to end up with.

IMG_0467IMG_0470  

– In a sterile bottle or jar, gently arrange your flowers. This is much easier to accomplish in a jar, though if you like the look of the sauce style bottle then be sure to take care when pushing the buds through the neck.

 IMG_0471

– Pour in enough cyder vinegar to cover the flowers, before adding a few drops of essential oil. Again we have used rose essential oil to complement the flowers. If you’ve gone for pelargonium then geranium oil works best here, freesia oil with freesias and of course lemon oil with lemon slices.

vinegar

– Cap and shake gently and you’re pretty much done! Leave the vinegar to infuse for one month to really get the best scent for your bath. Then just decorate the bottle by wrapping with ribbon or raffia, add a hand made tag and your handmade gift is ready to go!


Posted on — Leave a comment

Ginger Chocolate Biscuits

As the days get shorter and winter draws closer, there’s nothing better than tucking up with a cup of tea and a homemade biscuit.  Since its chocolate week it’s only right that it should be a chocolate one.  Chocolate biscuits have always comforted me and this recipe gives them a warming ginger twist.


Ingredients:

125g Ginger chocolate

180g Plain flour

1tsp Bicarbonate of soda

125g Butter or margarine

125g Caster sugar

1tsp Vanilla extract

1 Egg

250g Chocolate chips

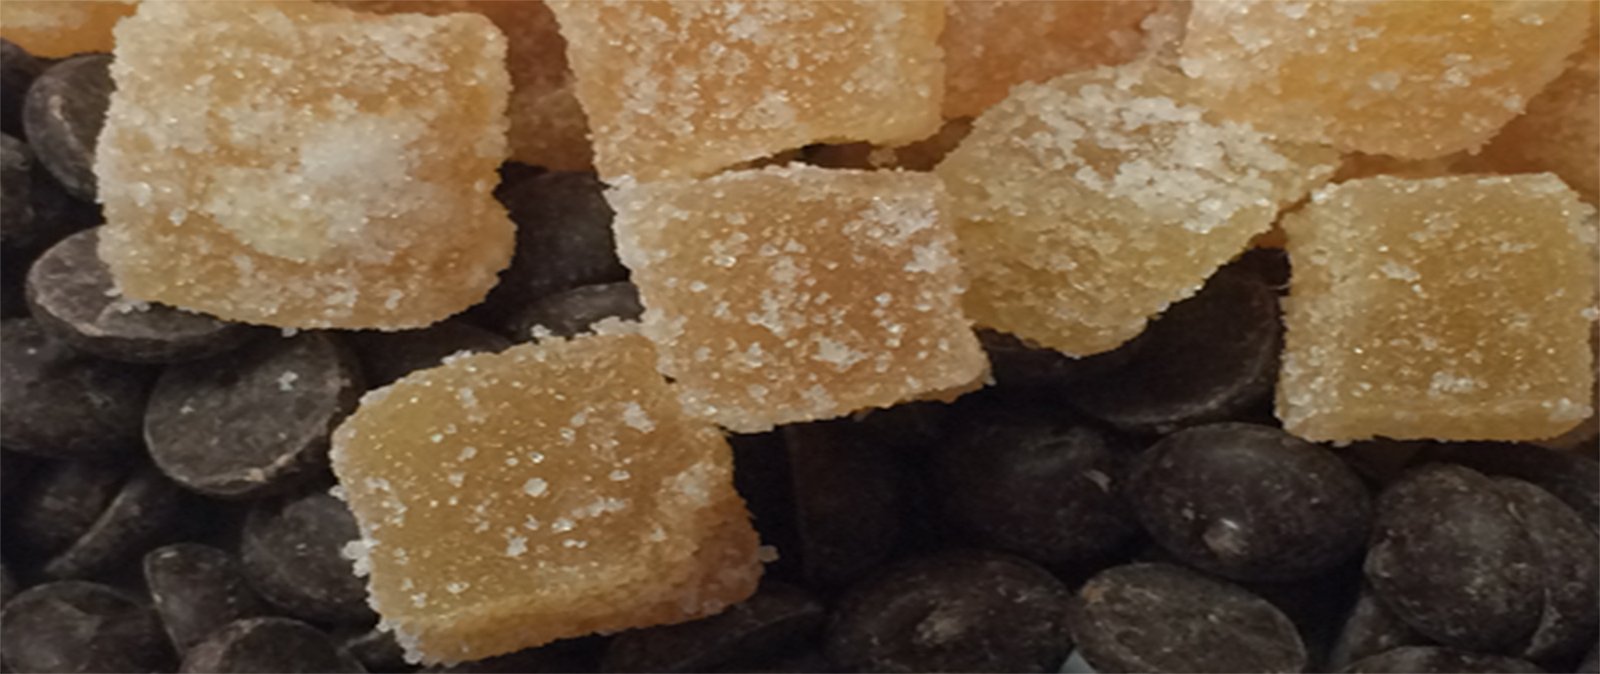
100g Crystallised ginger, diced

Method:

– Preheat the over to 170C/Gas mark 3

– Break up the chocolate and melt in the microwave or in a heatproof bowl set over a pan of simmering water. Stir occasionally until melted.

– In a bowl, cream together the butter and sugar until light and fluffy.

– Stir in the melted chocolate.

– Beat in the egg and vanilla extract.

– Add the flour and bicarbonate of soda. Stir until thoroughly combined.

– Stir in the chocolate chips and crystallised ginger until spread evenly throughout the mixture.

– Line a baking sheet and scoop out the mixture into equal portions about 6cm apart. Do not flatten them.

– Bake for 18 minutes and test with a skewer. If it comes out wet with batter, continue to cook until the skewer comes out semi-clean.

– Leave to cool for 5 minutes, transfer to a cooling rack and leave to cool again until they have hardened.

Don’t forget to enjoy with a cup of tea!